
Building a pollinator-friendly garden, week two
This is part two of a series where I am working with my grandpa to revitalize our garden by planting native and pollinator-friendly plants.
By Lauren Zaren, Environment California Intern, UC Davis Class of 2021
This is part two of a series where I am working with my grandpa to revitalize our garden by planting native and pollinator-friendly plants. You can find my first blog post here.
After several days of rain last week, the sun finally reemerged — which presented the perfect opportunity to get some weeding done. I also tested the soil, ordered supplies and created a wire mesh base to keep our garden rat-free.
There are a variety of gardening methods, but I chose to plant in raised beds so I could have more control over the soil quality. I bought my own fertile soil rather than using the dry, nutrient-depleted soil that fills our front lawn. Finally, I decided to use the front two beds for planting, and got to work weeding the area.

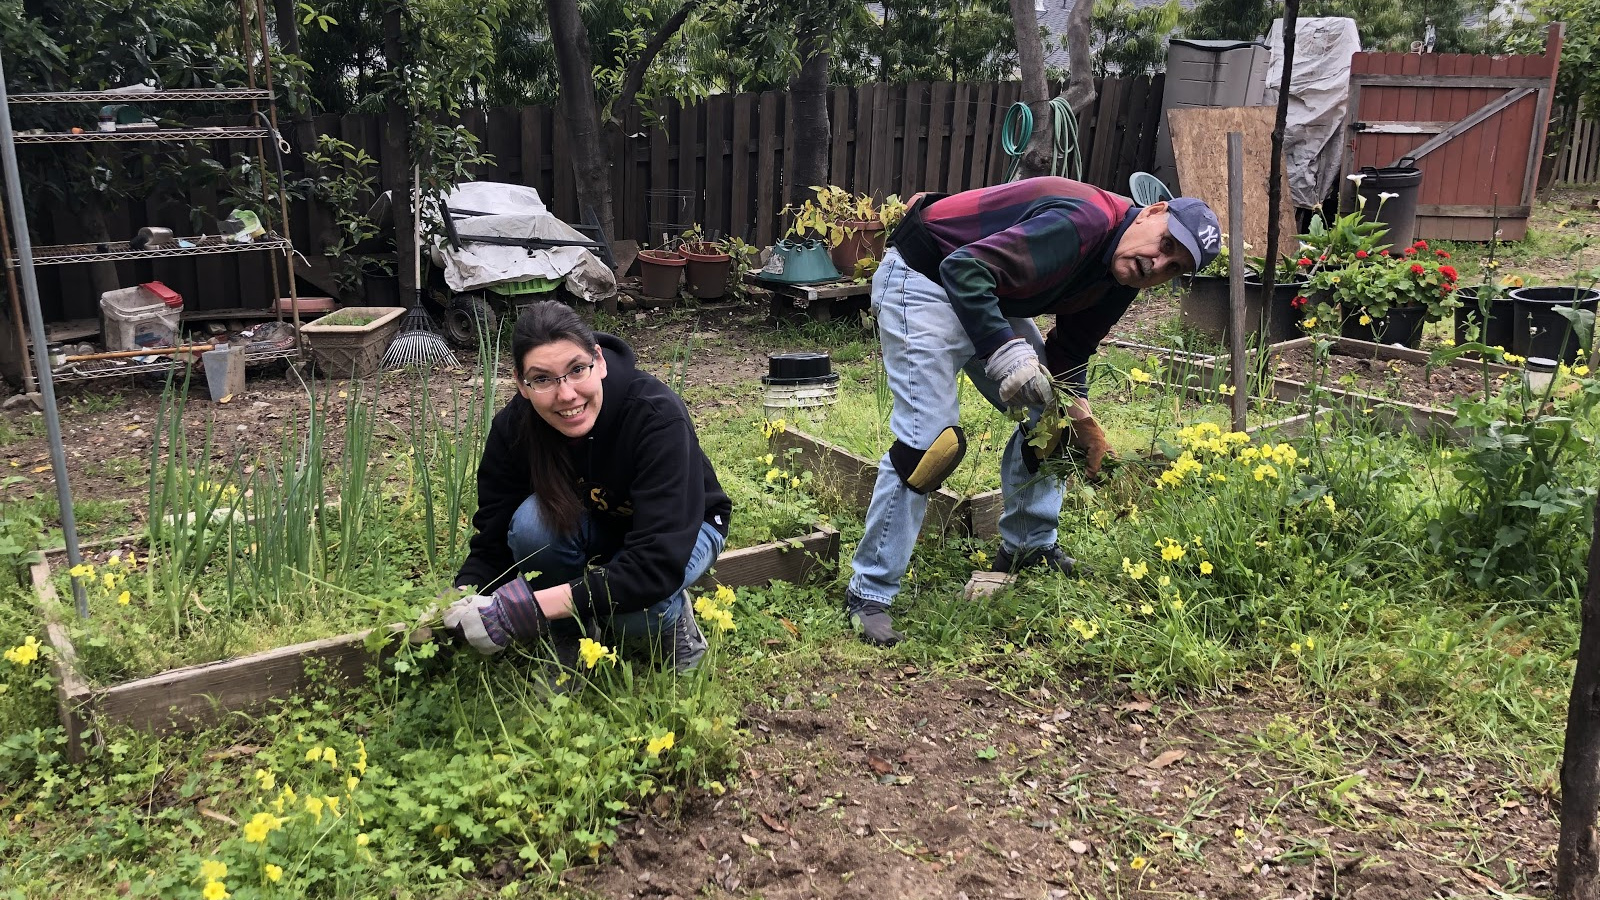
My grandpa and I pulling weeds. Photo: Lauren Zaren.
Before getting started, my grandpa told me about a few important tools to have on hand: gardening gloves, a stool or knee pads (your knees and back will thank you later), a water bottle and sunscreen. Most of the weeding can be done with your hands, he told me, but you will need a hand rake for the second step, and a shovel later on.
Along with my mom, grandfather and cousin, we pulled out the big weeds first, trying our best to remove each weed in its entirety. I had moderate success with this process, but it sometimes took extra digging with the hand rake to loosen the roots. Depending on the size of your garden, this process may take hours or days, so plan ahead. Although it was hard work, I enjoyed the opportunity to talk with my family and encourage them to spend time outdoors, especially after a week of rain.

My cousin, grandpa and I digging and weeding. My mom helped too (she’s camera shy, but a great photographer). Photo: Lauren Zaren.
After taking a well-deserved break, I started loosening the soil and uncovering any remaining roots using the hand rake. I knew it was important to be as thorough as possible, as any roots left behind pose a risk of recurrent weed troubles. An extra few hours now will save me time in the future.
Next, I evaluated the soil and determined what type and quantity of new soil to buy. My local gardening shop has established a contactless online ordering and pickup system which I hope, along with online research, will be an adequate substitute for a physical visit to the store.
I conducted a homemade pH test and found that the soil has a neutral pH, which is ideal for planting, as it allows the plants to absorb essential nutrients. After this, I used a testing kit to measure the levels of NPK (nitrogen, phosphorus and potassium) in the soil. There was a sufficient amount of potassium, a deficiency in nitrogen, and a surplus of phosphorus. In order to correct this imbalance, I ordered several bags of soil and selected fertilizer that is rich in nitrogen and contains limited phosphorus. I will combine the old and new soil together to reach a more balanced NPK ratio.

We dug around and found an old soil testing kit in our basement. Here are the results!
After learning about our garden’s soil composition, I recruited several family members to help with an additional step in the soil preparation process. In the past, my grandfather has dealt with rats and other creatures tunneling through the garden beds and destroying his vegetables.
In order to prevent this from happening, he suggested that we add a wire mesh base to each garden bed, which is a humane way to protect our crops and block the creatures. This process added a significant amount of time and work to our task, but will be worth it in the long run.


My dog, Bella, surveying our progress and having the time of her life helping us dig. We found a few scraps of wire mesh, but not nearly enough to cover both garden beds.
Finally, I measured the dimensions of the garden beds and placed an order for bags of soil, Nitrogen-rich fertilizer and wire mesh so we will be prepared to start planting soon. Next, I will begin the search for flowers and vegetables to plant which are both native to Southern California and pollinator-friendly. I want to explore the idea of companion planting, which would allow our garden to include a mixture of mutually beneficial seedlings.
If you and your family have been following my posts and decided to start on a gardening project of your own, please send a picture of your adventure to [email protected] for a chance to be featured in next week’s blog.
Happy Gardening!
Sources: